In my eight years as an AV technician – I’ve found the following two qualities to contribute greatly to an installer’s success:
A Good Attitude – We all have to start somewhere and even a complete novice can achieve competence and success with proper training.
Everyone enjoys working with someone who they get along with, pulls their fair share of the workload and is eager to learn and improve.
Preparedness – Having the proper tools for the job at hand.
Tools are necessary in this technical field and most AV companies expect their technicians to present themselves with basic hand tools. The following is my personal list that will prepare you for the most common tasks on an AV jobsite.
- Multi Bit Screwdriver
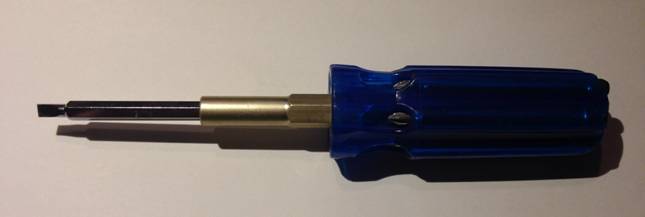
Screws come in multiple formats and sizes – Robertson, Phillips, flat head etc. The more options you have to tackle potentialsituations the better. The fact that these removable bits can be inserted into a drill to expedite hand torqueing extends their usefulness on site. - Utility Knife
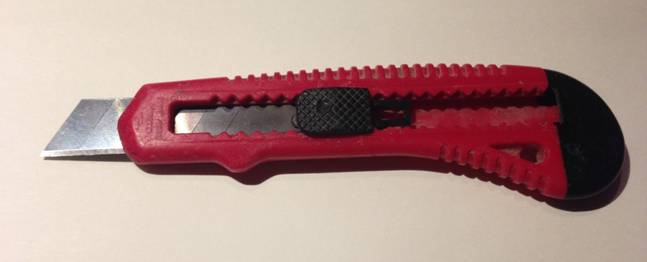 As you prepare your equipment for installation there will be a lot of boxes to open. A good utility knife or box cutter will be needed. As a side note I have seen the tip of a utility knife used by resourceful technicians to remove small Philips head screws when other tools were unavailable.
 - Tape Measure
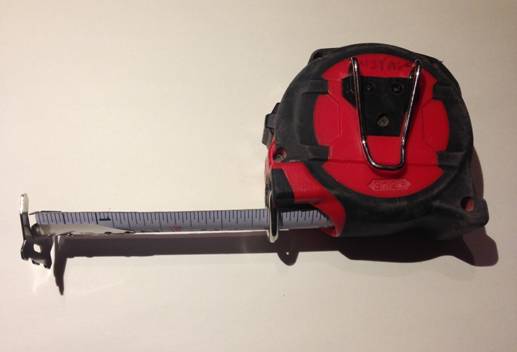
Installations require accuracy and an adherence to floor plans and diagrams. A good tape measure is essential for this. Since we here at Pro AV School are located in North America we use the Imperial system of inches and feet. Make sure you use a tape which applies to your region’s system and a good initial purchase would be that of a 25 foot tape – capable of being useful in small applications or measuring room heights, boardroom centre points and projector throw distances. - Black permanent marker & white electrical tape
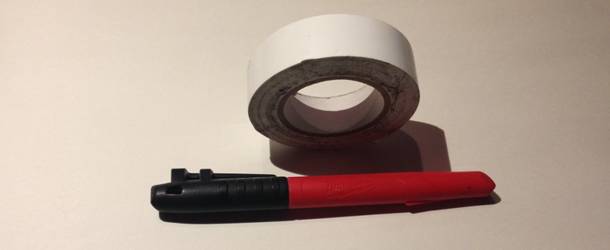
These two items work well together because a large part of AV installs involves pulling cables and wires for your equipment. In this early stage of the project labelling your lines will be important to maintain order as you progress. The electrical tape serves the dual purpose of securing your lines as you pull them but can also be used as a makeshift label on the end of your lines or in the instance of a black cable jacket where your permanent marker will not be legible. The permanent marker can also be used to mark your cable boxes with pertinent information (wire number, distance, project name, room name) when multiple lines are being pulled at the same time. - Flush Cutters
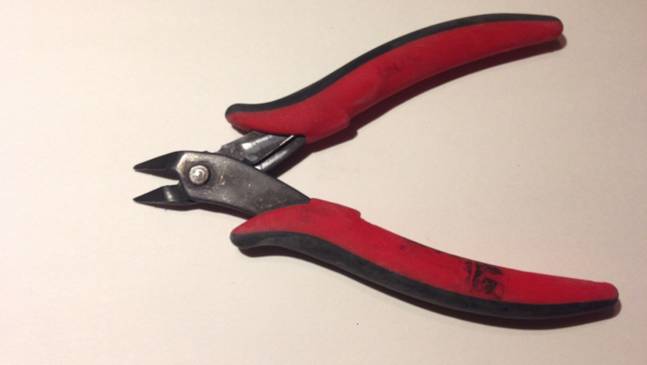
When you are ready to cut your cables a small, sharp wire cuttersensure a clean cut. The benefit of these smaller blades is most appreciated when trimming off the unused portion of cable straps at the back of equipment racks. Larger cutters tend to leave a small sharp protrusion when cutting cable ties that can scratch and cut your arms when working on the back of a rack. - Wire Strippers

Considered to be more of a precision cutter, these are used for removing (stripping) the outer protective jacket of your cables. Wire strippers are most useful after your lines have been pulled, labelled and trimmed and ready to be terminated with their appropriate connectors. Popular cable gauges used in AV systems are 16, 18 and 22 gauge cables so having a wire stripper suitable for these is advisable. - Level (Spirit, Bubble)
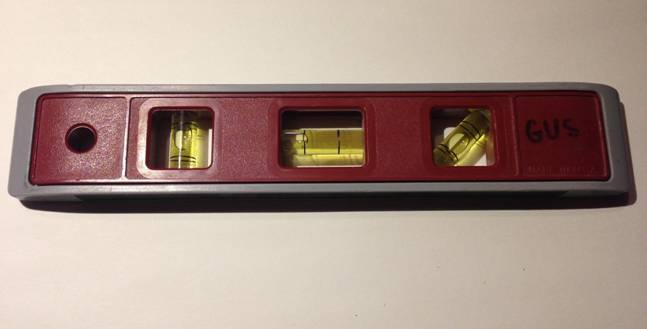
As mentioned earlier, accuracy is vital in AV installations. Therefore after a device or piece of equipment such as a monitor, screen or projector is installed in a room it should be tested with a level.The longer the level the more accurate your reading. This one pictured here is a 9” level suitable for smaller monitor installations. - Drywall Saw
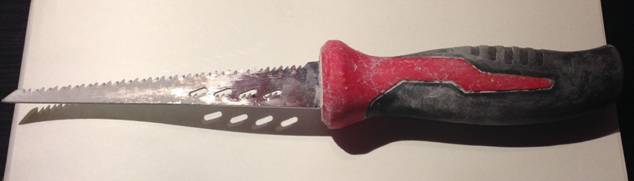
As drywall is a popular building material used in the construction of modern commercial buildings and homes you will need the ability to cut into these walls to install input plates and run our lines. - Flashlight
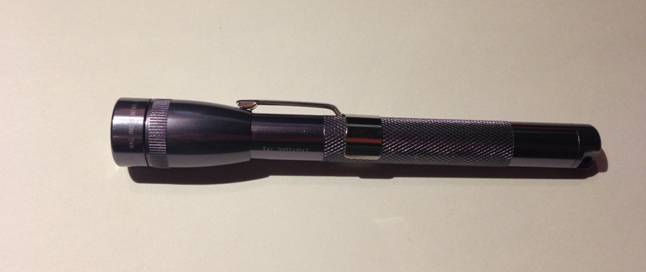
Working underneath boardroom tables, in ceilings, crawl spaces and sometimes on construction sites where electrical lines may be inactive requires the use of a good light. - Hammer
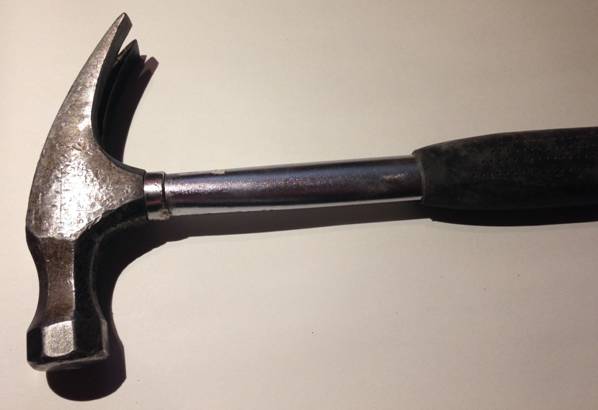
Often times we find ourselves in a situation where a little brute force is required. A stubborn threaded pipe isn’t responding to hand strength, a piece of metal needs bending into place in a customized mount or some old equipment needs to be decommissioned from a room. Enter the hammer to add some much needed blunt force. - Adjustable Wrench
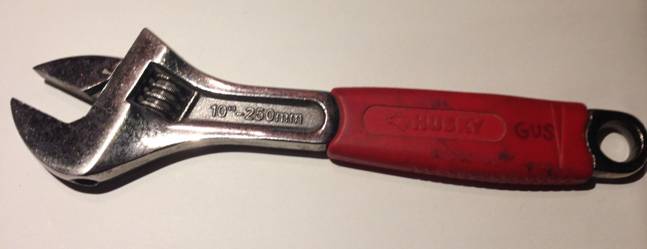
Working with ceiling suspended threaded rod, and 3/8” nuts and bolts hardware usually requires the ability to tighten things down for safety. Depending on the gauge of bolts being worked on you can use dedicated nut drivers, but for an all-encompassing solution the trusty adjustable (crescent) wrench is always a dependable backup tool. - Security Bit Screwdriver
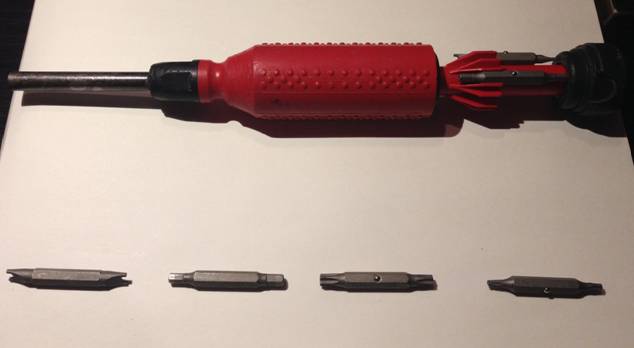
Commercial sites are often cautious about the potential for theft of their equipment. To counteract projectors and other expensive AV equipment ‘growing legs’ and disappearing many hardware manufacturers also include security hardware in their mounting systems. These more obscure screws require the use of special drivers (Torx, Hex, Spanner, Tri-Wing,and Torq-Set) that most people would be unfamiliar with and thus be unable to remove with the use of a traditional screwdriver. - Extron “Tweaker”
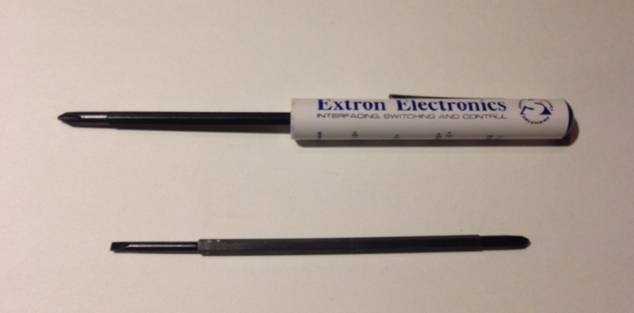
I have tried to keep my recommendations objective, not naming specific manufacturers over others. However, of special note is the mini dual sided screwdriver that Extron supplies as a free addition in many of its products. The Tweaker is very popular among AV circles as being one of – if not – the most used tool in AV installations. It serves its purpose well when tightening small captive screw (Phoenix) connectors. I often use mine as an awl to discretely poke through drywall and confirm the presence of structural studs. - Tool Pouch
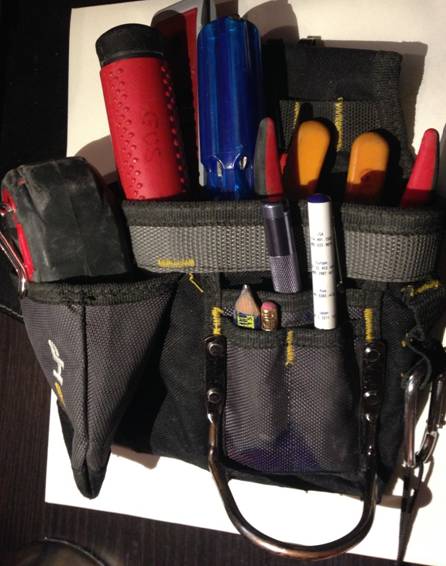
Last but not least I have to recommend the usage of a tool pouch as you go about your installation duties. Having to constantly go up and down a ladder to return to your main tool box and retrieve necessary items is highly inefficient. A small tool pouch worn on the hip can condense your most often used tools into one convenient spot and save you time. Be careful not to overload it and potentially drop items while working above expensive tables or furniture.
PS. Unmarked tools usually end up in other people’s tool bags – label your tools with your name to avoid mistaken identity.


